It is easy to upgrade SSD on a laptop if there is an extra slot available. But what if your laptop is running out of space and it doesn’t have any extra SSD slot? In this case, we have only one option. Replace the existing SSD with the higher variant. But, the question is, If you replace the SSD all the data will be lost including the operating system. Is there any solution on How to upgrade SSD without losing data? Yes, Here is the solution.
How to Upgrade SSD without losing data

Steps to upgrade SSD without losing data are:
- Disk Cloning
- Installing new SSD
- Choose a new SSD as the first boot device in Bios
- Restart Laptop
Items required to upgrade SSD.
- External SSD Case (work in NVME Gen3 and Gen4): https://amzn.to/44ogNkx
- NVME Gen 3 SSD 1TB: https://amzn.to/3Pa7SPr or
- NVME Gen 4 SSD 1TB: https://amzn.to/3qGdMy7
Now Let’s Start the Upgrading Process
How to clone SSD
01. Connect your new SSD in the Case.
02. Connect the SSD with the case to the laptop’s USB port.
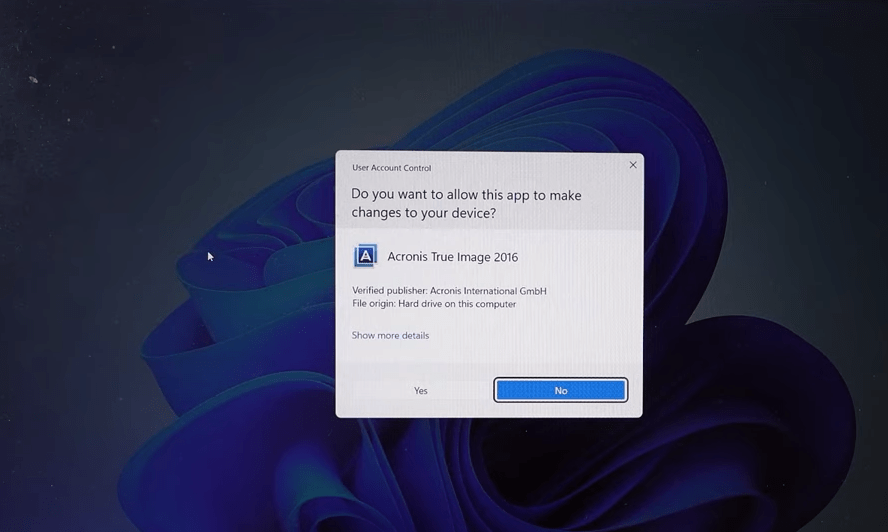
03. Now Download and Install the Acronis True Image application. It allows you to clone the existing SSD with the new one.
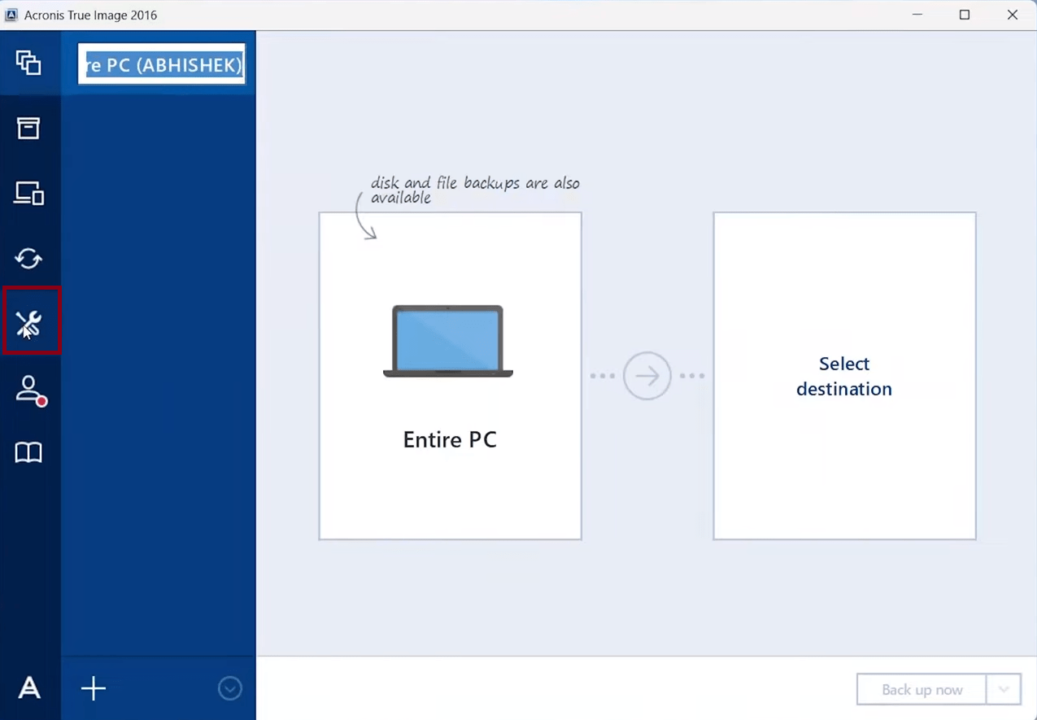
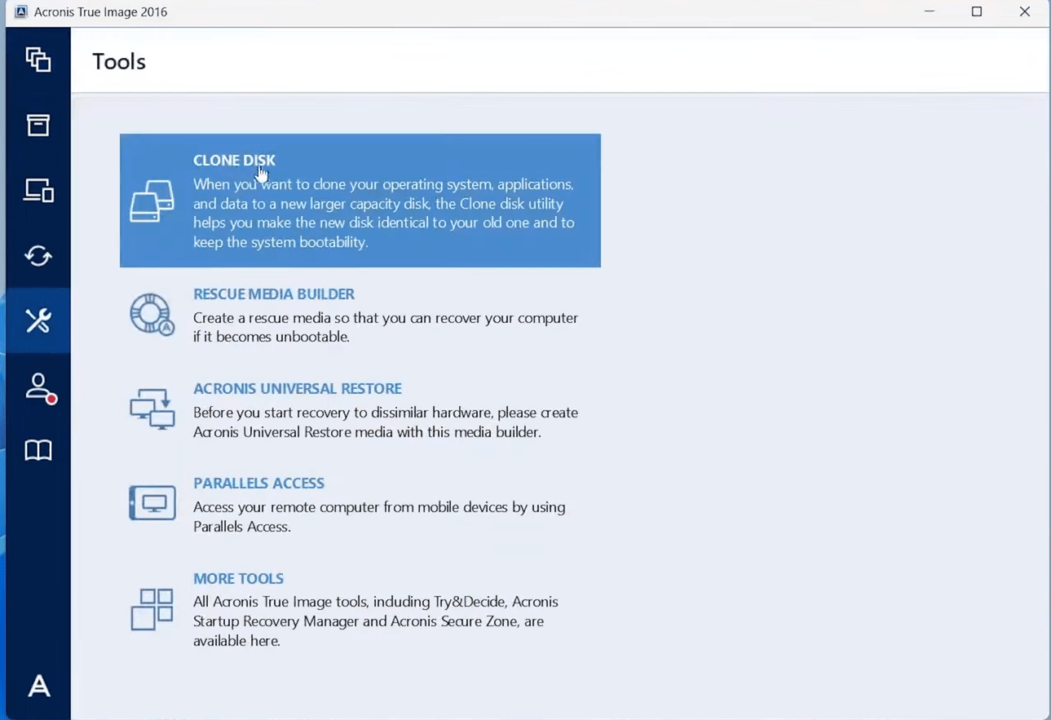
04. Now Open the Acronics True Image and Click on the tools icon.
05. Click on Clone Disk
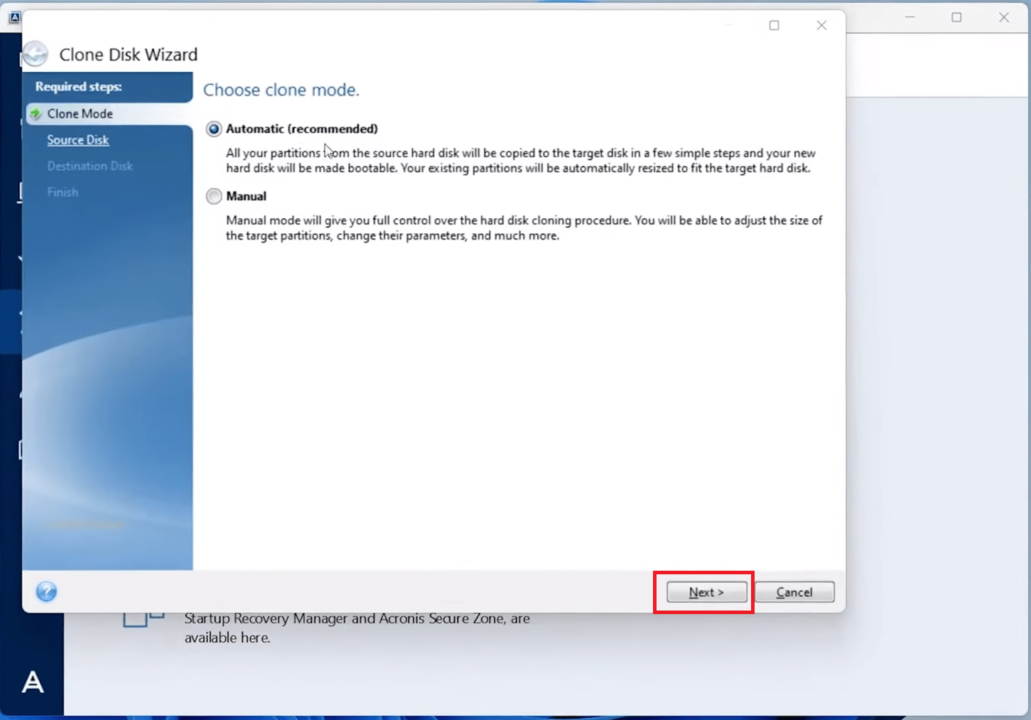
06. Select the Automatic settings and Click on Next.
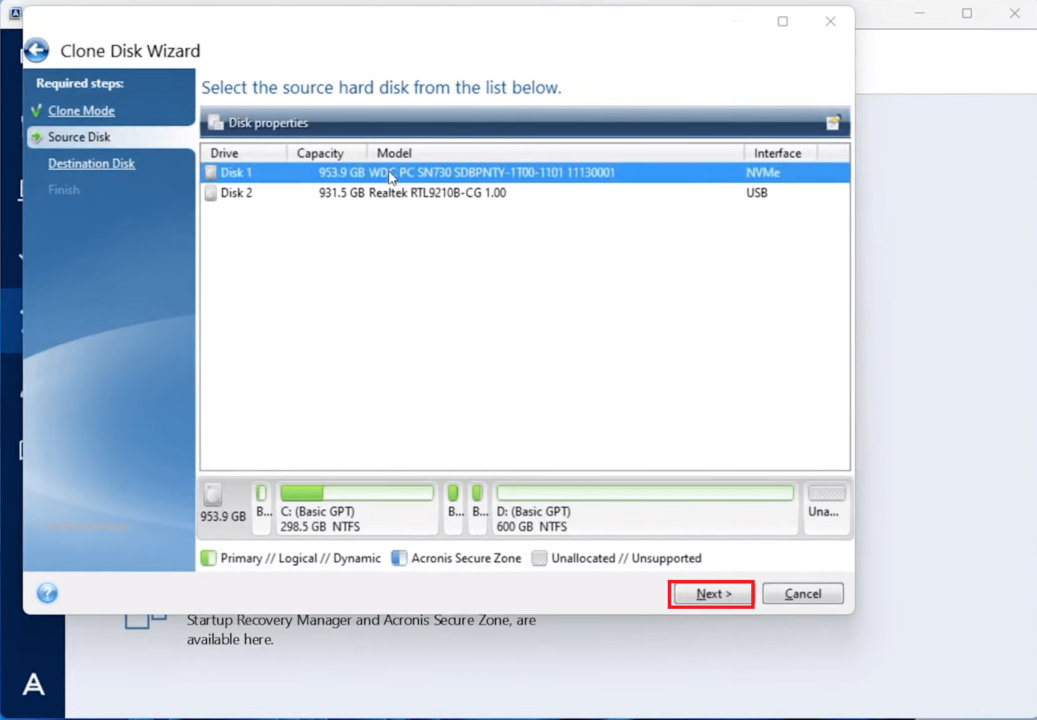
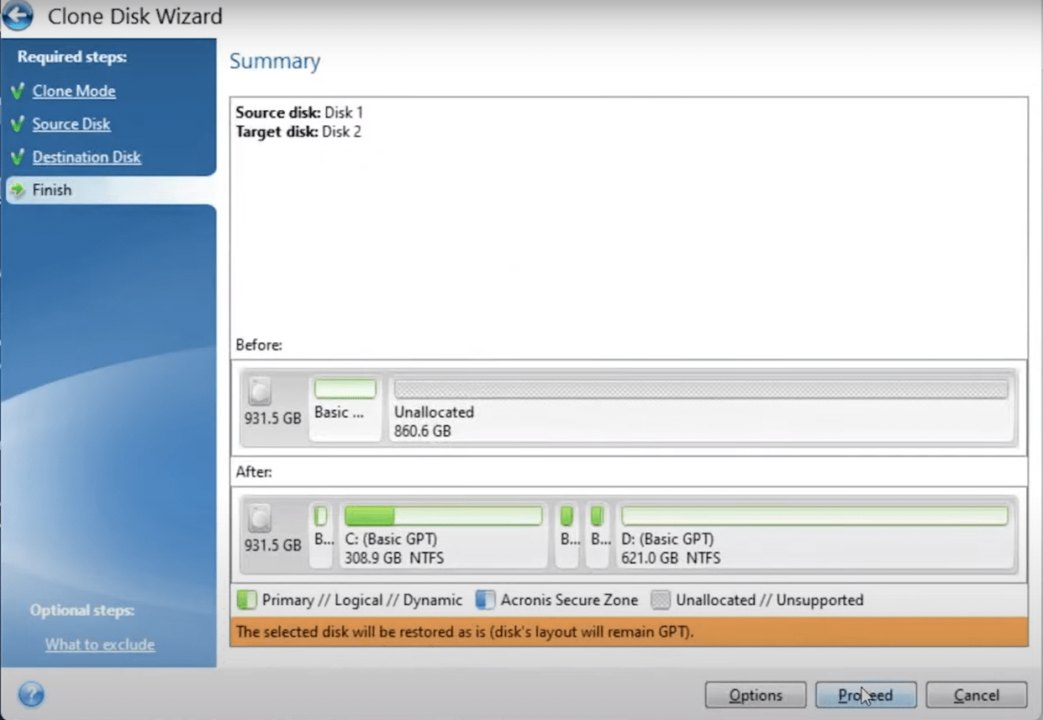
07. Now choose the source disk (disk already available on the laptop) and Click on Next.
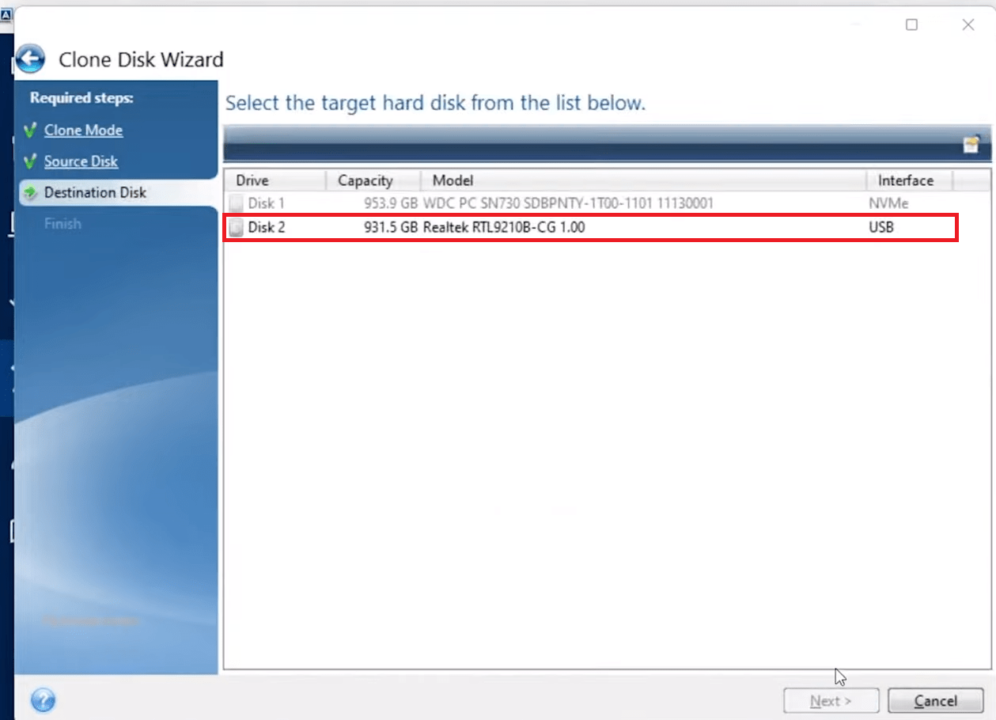
08. Choose the destination disk (disk in which the Cloning will occur or the new SSD) and Click on Next.
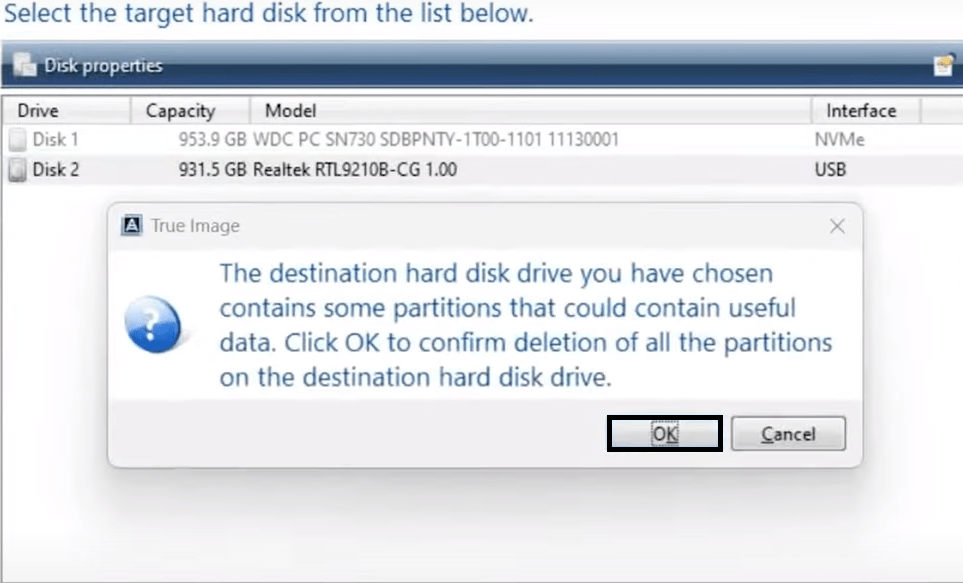
09. You will get a warning message that says it will delete all data from the new SSD, Click on OK.
10. Click Proceed.
Now the laptop will ask permission to restart. Once you restart the laptop the Cloning process will start. So make sure that the laptop is connected to the power supply and you should not turn it off during the process. 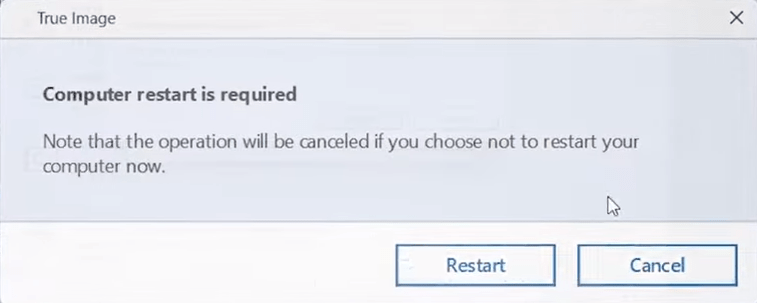
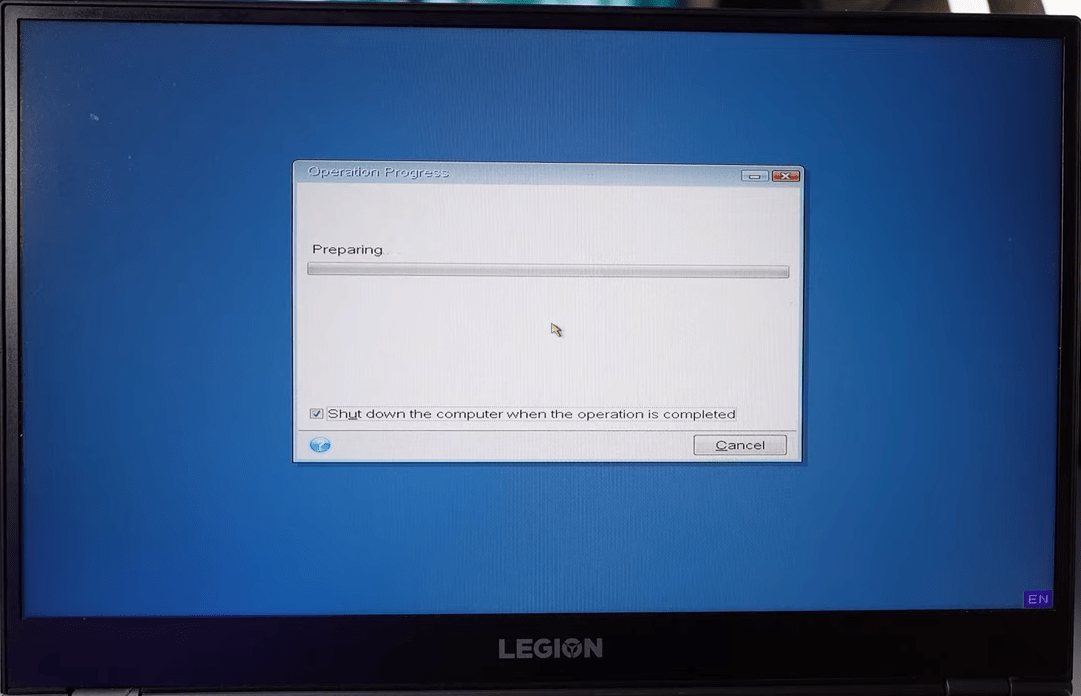
Once the process is finished, the laptop is going to shut down or restart automatically. Once the system gets ON, you will find on the new SSD all the files and folder from the old SSD has been transferred successfully.
Now it is time to replace the new SSD with the existing one.\
How to replace SSD on laptop
- Turn off your laptop.
- Remove screws from the back panel and then remove the back cover.
- Before touching any internal part of the laptop, make sure to disconnect the battery.
- Remove the existing SSD.
- Add the new SSD.
- Connect the battery back to the motherboard.
- Close the case and connect all the screws back.
- Turn on the laptop.
Congrats, your laptop SSD has been upgraded without losing data.
Caution: If you don’t know how to open the back cover or don’t want to breach the warranty of the laptop then go to the nearest store or service center.
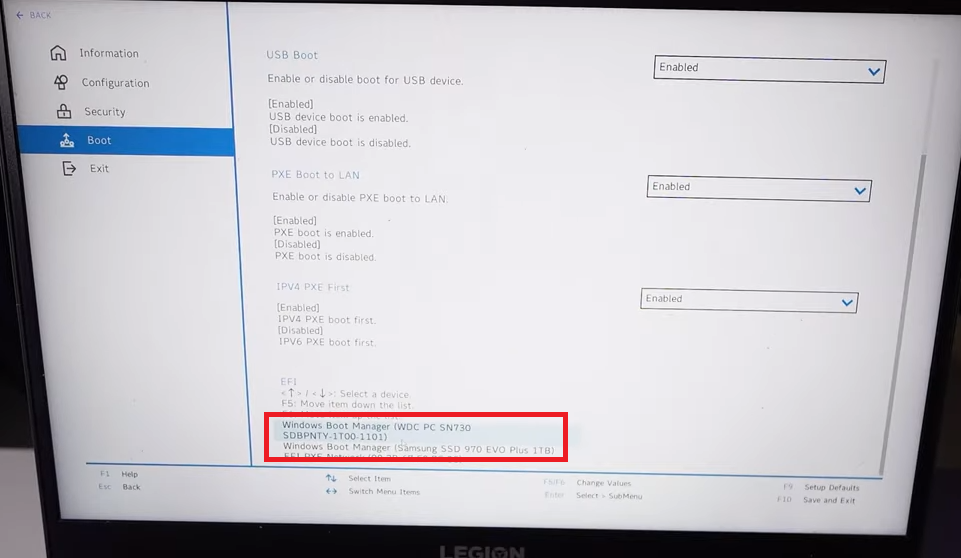
How to boot OS from a second SSD?